Showing posts with label how to. Show all posts

September 22, 2013

DIY > no sew tie blanket


It's only appropriate that I am writing this with Sunday Night Football in the background, with the Steelers  playing against  losing to the Bears at this very moment. I'll admit it - I'm not paying much attention to the game, or to the NFL season in general... but I pretend for the sake of a happy marriage. :)

That being said, I earned brownie points from the hubby (a Steelers fan, maybe you had guessed?) today by making him a no sew man blanket of his own.


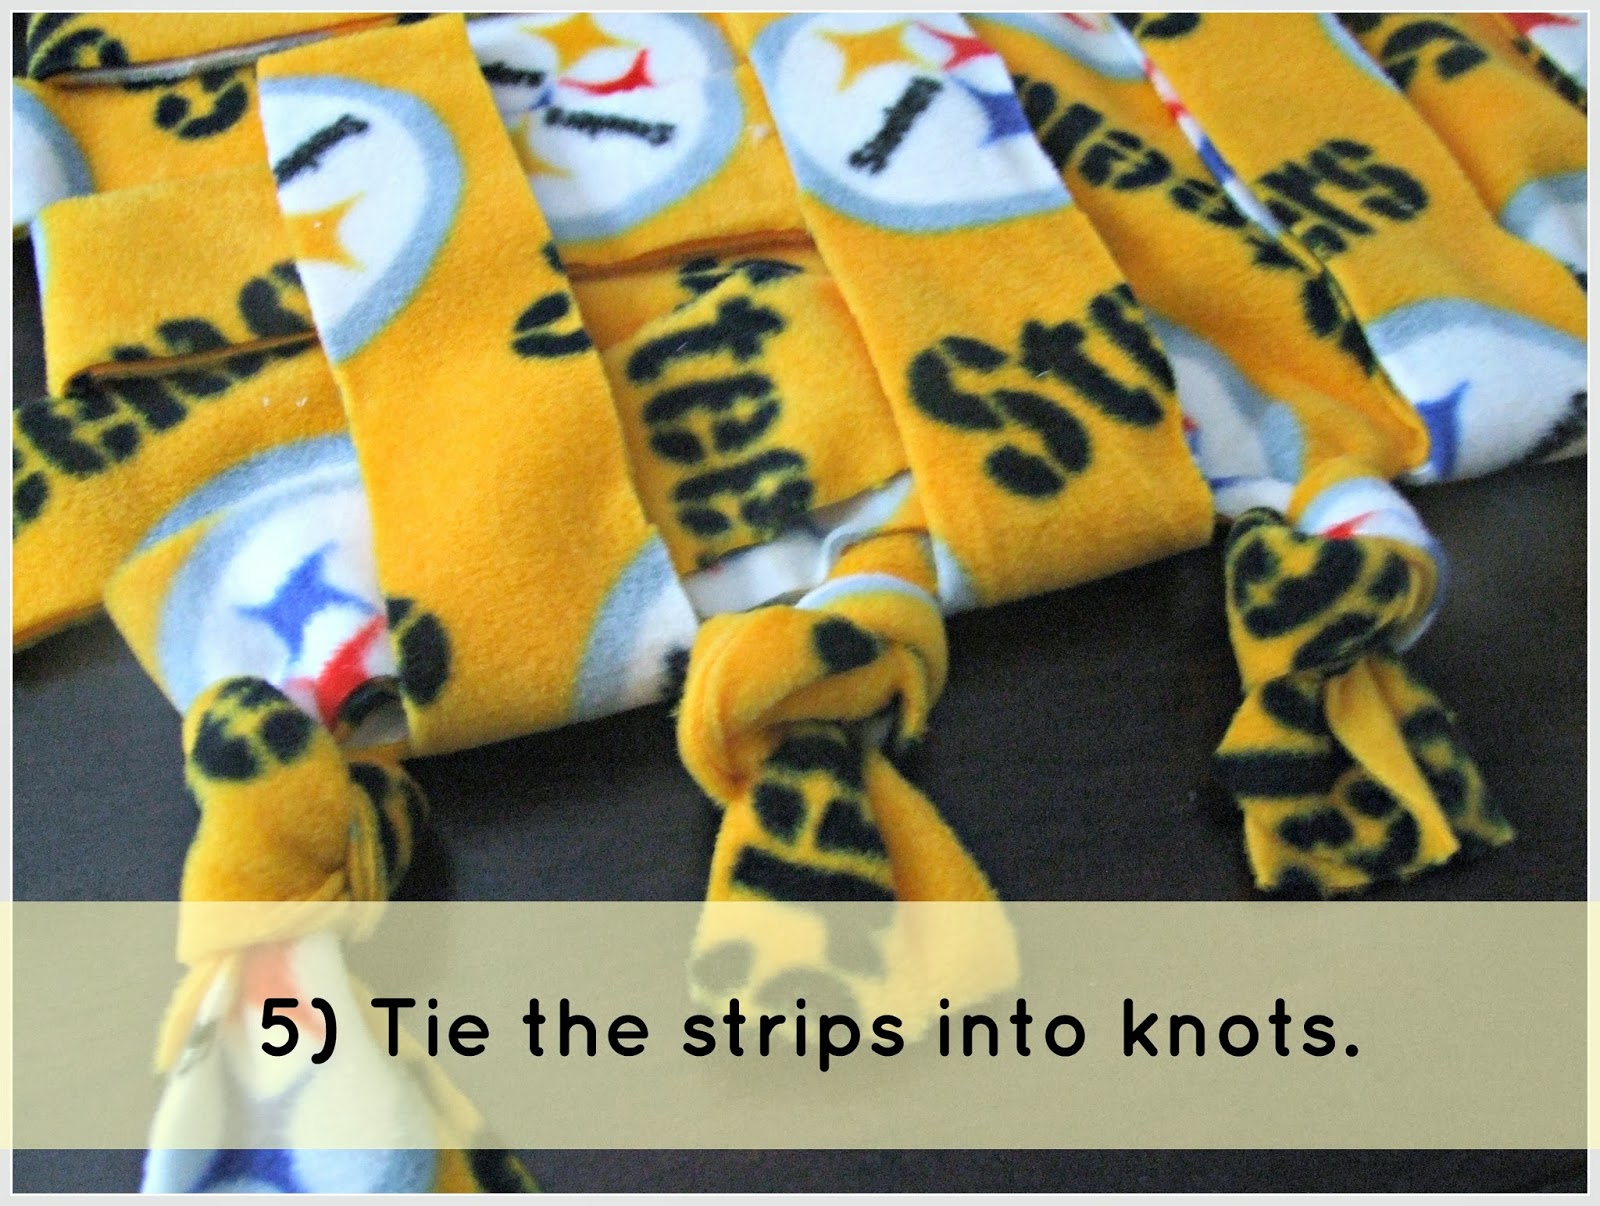
The instructions for this no sew tie blanket are more or less the same as the no sew baby blanket that I made back in June. However, the measurements I made for the corners and the fabric strips are a bit bigger this time around as this blanket was for a dude (not a baby... therefore more material was used and the finished blanket is bigger).

Enjoy the simplified, visual how to!


---

Total cost:
 
Cost of fabric =  $26.23 for 2.5 yards ($10.49 per yard at Hobby Lobby)
Total cost = $26.23  
(... and my husband's surprise = priceless)

August 13, 2013

rocking chair diaries: part 2


Before my palm sander could touch this rocking chair, an important and painful step had to be completed first: the initial stripping. Since this (as well as a certain side table - I'm big on multi-tasking) is my first adventure in refinishing any piece of furniture (beyond slapping on a coat of paint), I went over a few tutorials and how-to blog posts to get a basic grip on how to begin. [ This blog was by far the most helpful/detailed. Thanks Janine! ]

Stripping the current paint/varnish/seal is not for the weak. This step calls for a true DIY warrior, a gal who is willing to spend a few hours (honestly, hours) scraping away the past in hopes that the end result will be amazing. I  knew this step wouldn't be done in just one afternoon so I am taking this one baby step at a time. It is considerably time consuming but at the same time is a decent way to spend a sunny day: hang out on the deck, put some music on, scrape away to my heart's content.


The Essentials:

1) Gloves. I just used an old pair of gardening gloves (the remover can really burn - so protect your hands and arms). A long sleeve shirt is also recommended. Safety first, right?!

2) Paint & Varnish Remover. I used Circa 1850 Heavy Body Paint & Varnish Remover (can be found a t Home Hardware, Rona, etc.). I purchased it at the local Home Hardware for less than $12, and after using it to completely strip a side table plus start stripping this rocking chair, I still have about half the container left. It goes a surprisingly long way. Also - this version of the product is gel-like, and I found it helpful for stripping the vertical parts of the chair (i.e., the back and arm rests) as it didn't drip much.

3) Paint scraper. I know that there are fancier, better quality, heavy duty paint scrapers out there, but I bought this one from Dollarama and it is my new best friend. Maybe I don't know what I'm missing, because I haven't spent the money on a higher quality paint scraper - but this cheapo one has done a great job this far along.

4) An old bed sheet (not pictured). Because I don't have a garage or workshop to call my own, I use our deck/backyard as my work space. Before getting started on any project (spray painting, stripping furniture, sanding, etc.) I throw an old bed sheet on the deck as protection. This time around the bed sheet caught all the scraps of varnish and paint that I had scraped - this was a messy step so an old sheet (or garbage bags, newspaper, tarp, etc.) is highly recommended for easier clean up.


Strip Tips:

  •  Pace yourself. Depending on the size of the project, it will take a few hours to completely strip the chair/table/etc. Do small chunks at a time (i.e. for this rocking chair, I did the headrest first, then the arms, then the seat... It also helps to get a larger section (i.e. seat) out of the way first to feel more accomplished. Don't try to rush through this part because it will show later on!
  • Don't use foam brushes to apply the paint & varnish remover. Rookie mistake! The foam brush didn't spread the remover around very well, and just got chunky and messy really fast. I bought a few 2 inch paint brushes and things went on a lot smoother after that.
  •  Be generous with the paint & varnish remover! The more you apply, the easier it is to scrape away. I used different amounts and when I skimped on applying the remover, it wasn't as easy.


-----


June 28, 2013

DIY > no sew baby blanket


When I left for my first year of university, one of my aunts gave me a blanket. This particular blanket is like the travelling pants of tie blankets: it has seen me (and some of my friends) through the many milestones of student life.  The good, the bad, and the ugliest of breakups...

I recently became a first-time auntie, and thought that it would be appropriate to give my nephew a tie blanket of his own. Who knows - maybe this tie blanket will see him through many milestones in his life as an infant and perhaps even as a toddler? (I'm assuming he is years and years away from his first terrible breakup.)


This ^ is the tie blanket that saw me through university and beyond. It's also the blanket that I used as a guide and a pattern for a baby tie blanket... no sewing allowed. As always, I did refer to Pinterest a few times to double check some measurements (this particular blog was helpful).

The fabric was purchased recently at Hobby Lobby. I ended up buying 2 yards of the softest fleece that I could find (1 yard of each colour), and cut each of the colours in half so that I was able to make 2 blankets.

Tip: Pick a fabric that has some stretch in it... it will really make a difference!


How to:

1) I untied a few of the knots in the original tie blanket to estimate how long/thick to cut the fabric strips. I found that cutting them long and thin was easiest to work with.


2) I measured the width of the fabric for the depth of the strips, which worked out to be just over 6 inches. I didn't measure each individual strip (it would have taken forever!), but did bust out the measuring tape a few times on each side to  make sure it wouldn't be totally lopsided. I wanted to avoid my typical klutzy-excited errors...


3) The corners were cut approximately 6.5 inches by 6.5 inches. I saved these corner squares of fabric for a future project - not sure what it will be, but figured they had potential for something down the road.


4) Cut strips along each side of the blanket, about 1 inch to 1.5 inches wide. Like I said earlier, I found that cutting the fabric into long and thin strips worked best. I flipped up every other strip so that they were easier to keep track of and kept the project somewhat organized.


5) Last but not least... start tying the strips together into knots! This part was the least time consuming. Don't pull the knots super tight at first, you can always go over them again later so that there are no awkward pulls in the fabric.


And that is it - voila. The final product will look something like this:


Total cost:

Fabric = $18.18 ($9.09 per yard at Hobby Lobby, x2)
Total =  $9.09 per blanket
( * two no sew baby blankets were made this time around!)